
Last Updated on August 11, 2022 by admin
Have you ever found yourself packing a suitcase for an upcoming trip at 3 a.m.? I have. In my early 20s, the chore of packing filled me with enough dread that I would put it off to the very last minute, like the night before a flight.
Travel can make people anxious for many reasons. But, in particular, the stakes with bringing the right stuff on a trip always felt high to me. In my 20s, I was often traveling for special events like weddings or conferences, so missing a crucial outfit component could lead to a lot of stress. I’m a recovering people-pleaser, too, so I’d never want to inconvenience the group I was visiting or traveling with to help replace something I’d forgotten.
Once I had kids, the packing got more complicated in other ways. There were the unknowns of what your kid/s might need or want at any given point during the trip, of course, but the specter of trying to calm a screaming kid — especially in public — made the packing process feel stressful in new ways.
Beyond the anxiety surrounding forgetting things, I realized I was chronically procrastinating on packing because it was difficult to know where to start. I didn’t know how to structure my efforts in a way that didn’t have me repeatedly double-checking or re-evaluating what I’d already packed.
Standard travel checklists were somewhat helpful, but they didn’t ease my worries about forgetting one crucial undergarment or piece of outerwear.
At some point I started researching the best ways to pack. Slowly, after many trips, I developed and revised a packing system that started to make me hate packing much less than I used to.
My system isn’t complicated. It’s a single-page “packing worksheet” that I fill out step by step. My breakthrough idea was to make the list in a grid form to help me methodically think through each type of apparel/and equipment that I might need for each activity on the trip.
Below, I’ve explained how to use this system yourself. I have tiny handwriting, so I can usually do it all on an 8.5×11 sheet oriented long-ways, but you can modify the size to suit you.
Create a Foolproof Family Vacation Packing List
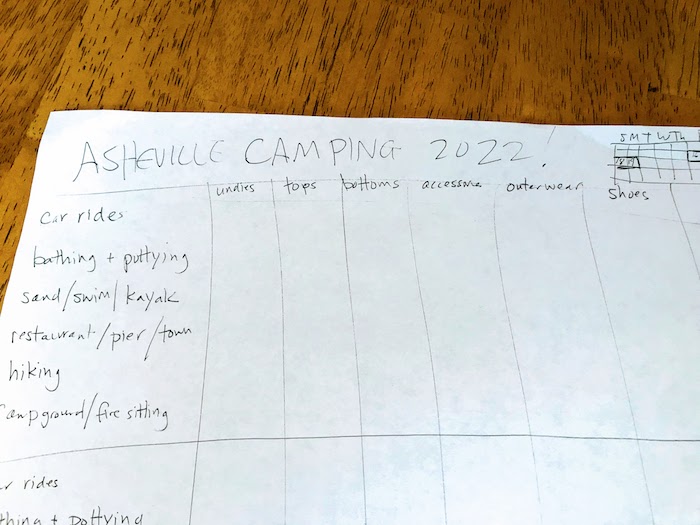
Step 1 – Write the headline.
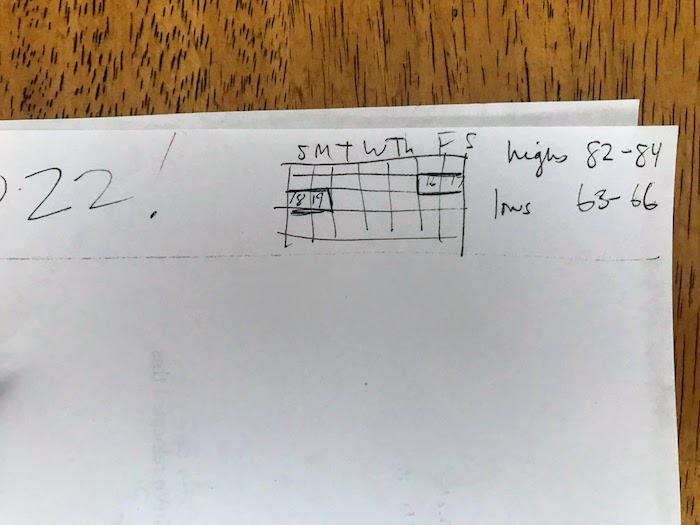
Write the trip name and trip dates on the top of the paper. I like to insert a small calendar in the upper right hand corner to indicate which days of the week/month we’ll be going (especially for longer trips).
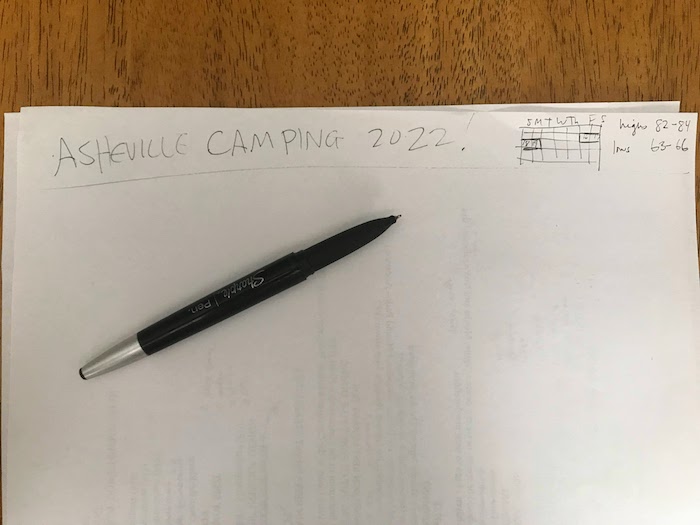
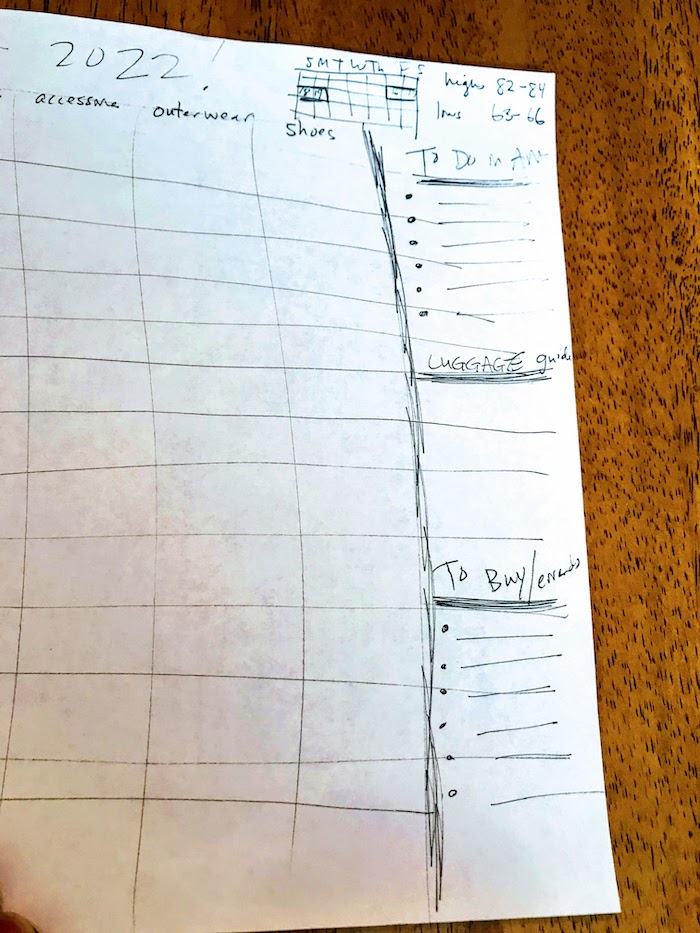
Step 2 – Note the weather.
Check the forecast for your destination(s) for both day and night, then note it near the calendar so you can keep it in mind as you pack.
Don’t forget to consider things like humidity level, altitude, and wind strength. Those can make a big difference in how it feels outside. For example, I had to learn the hard way how chilly it gets on the beach at night, even in the summer.
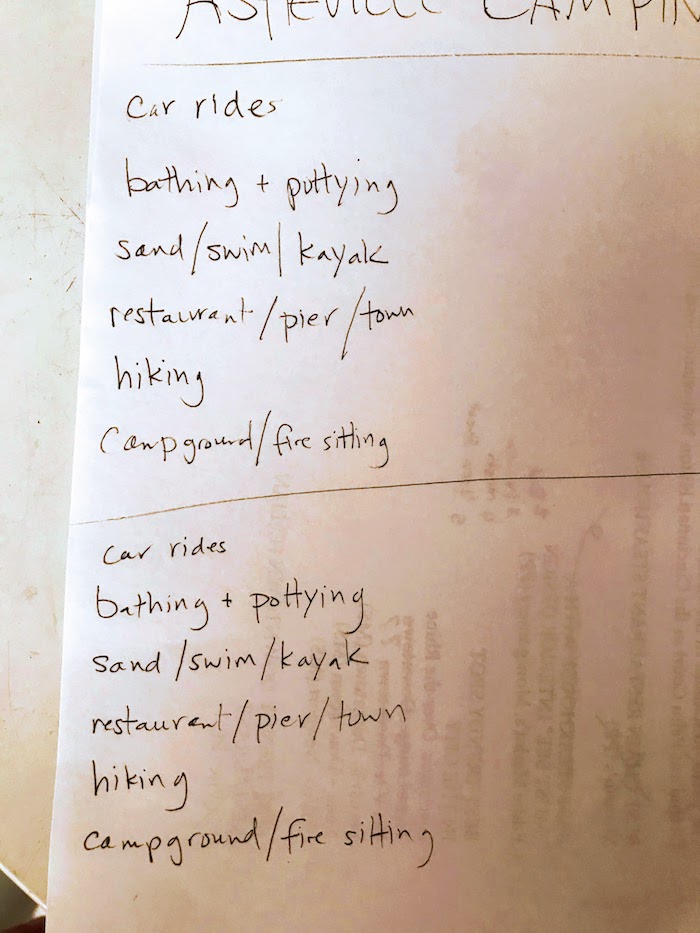
Step 3A – List activities.
Along the lefthand side of the paper, list every activity that you expect to do on the trip. It might help to look at the little calendar you made and think about what you’re doing each day, or to discuss trip plans with your travel partners. Getting creative and brainstorming all the things you might do will put your mind at ease later. Here’s an example of what your activities list might look like:
- sleeping / nighttime routine (you always have to include this one on every trip you take)
- bathing / hygiene (again, this one is always on the list)
- traveling (this one is always a must-add, too, since you need specific stuff for the car, train, or airplane)
- hiking
- swimming in the pool
- sunbathing
- casual dining out
- hanging out at the hotel
- attending wedding
- maybe: go to a fancy restaurant for dinner
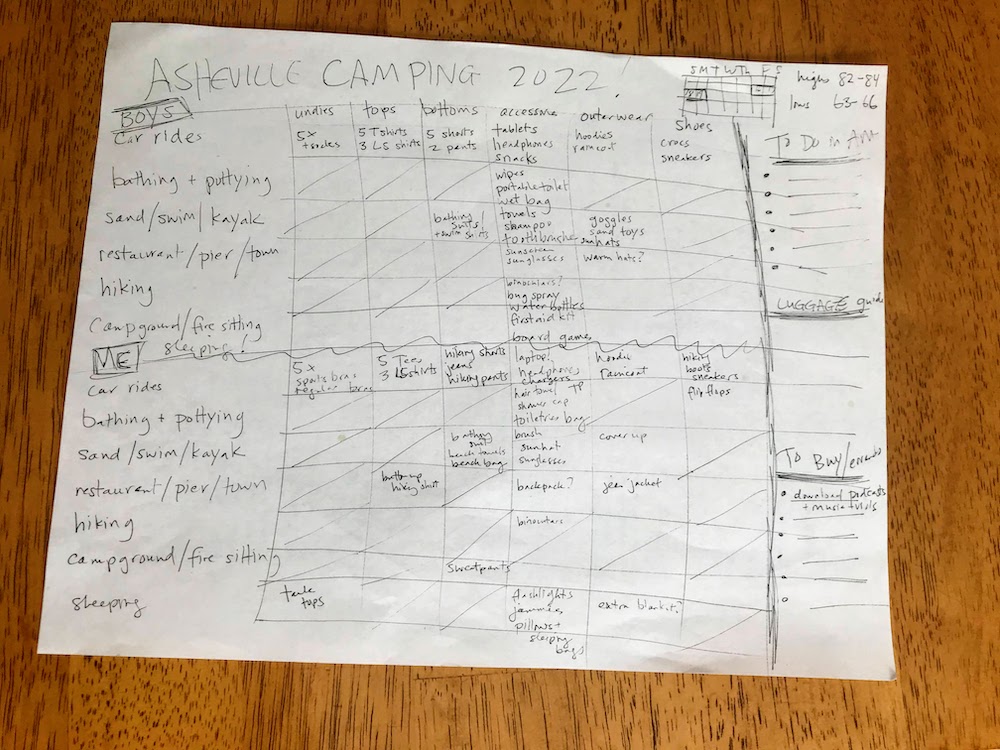
Step 3B – Repeat for kids’ activities.
Make a line under the final activity, then list all the activities that your kids might do on the trip. (Your kids’ activities will likely be the same as yours, maybe with a few exceptions, but I think it helps to have their list in its own separate space.)
Step 4 – Add packing categories and make a grid.
Now, across the top of the page below the trip details, make a row for each of the following categories: underwear, tops, bottoms, outerwear, shoes, and accessories/equipment. Once you add some lines, you’ll notice a grid taking shape that gives you a space to think through what you’ll need in each category for each activity.
Step 5 – Add to-do lists.
Finally, allocate some space on the page to jot down to-dos and luggage notes. On my packing worksheet, I always have space for the following checklists:
- things I have to buy for this trip
- things I have to do the morning we leave (such as grab the pillows and throw them in the car, for example, or turn on the indoor lights timer)
- luggage guide – This is where I note which bags/suitcases we’re taking and what goes in each. This way, you can make sure your snacks or your kid’s paci doesn’t end up buried somewhere you can’t access it easily. When you’re packing for a family, a plan for whose stuff is going in which bag is really helpful, especially if you’re traveling by air.
Fill Out Your List
Once you’ve finished your grid, start listing items to pack, one square at time. For each grid space, imagine yourself (or your kids) doing the activity.
Using this grid approach has helped me, for example, remember to throw a bralette in with my PJs when staying with family out of town. (I would have forgotten it without the underwear space under “sleeping.”) In another example: You might not think the grid space for “shoes” would have anything in it if the activity is hanging out indoors, but this grid space has helped me remember to bring slipper socks when visiting family with cold slate floors. (See? It’s no fun to ask to borrow your in-law’s socks when you’re at their house or borrow their car to go buy socks for yourself.)
The “accessories” column can include anything from food and snacks to entertainment options to medicine to beauty products. I find it simpler to just have one catch-all column for anything that isn’t apparel.
You’ll quickly notice that a lot of the grid will stay blank. I like to put a line through each square that doesn’t have anything in it so I can note that I’ve at least thought through what might go there. Also, some spaces need a lot more room than others, so I tend to just use empty spaces for overflow.
Start Packing (Check Off Your List Square by Square)
When you’ve finished listing everything you need, you can start packing by tackling the grid one space at a time in whatever order you want. I usually put a big X in each square that I finish so I can feel like I’m making progress, but not so prominently that I can’t see what I wrote in case I want to review it later.
I usually do my kids’ entire grid before I do my own, just because it feels simpler.
As I pack, I jot down notes on my to-do lists that deal with the impending trip as they pop into my head.
Here’s a pro tip: Start by packing shoes. They take up the most space, and they’re usually the biggest factor in whether you’re comfortable (physically and socially). Plus, the style of shoes you pick can limit which clothes you choose later.
Yes, I Know I’m a Worrier
My husband looks at my complicated packing grid with all my little scribbles and checkmarks and shakes his head, then throws his own stuff into his own bag with nary a list in sight. Or, he’ll make a simple word processing list for more complicated trips, such as camping gear. It must be nice to have a brain that can concentrate on these kinds of tasks without freaking out! For the more anxious and easily-distracted among us, though, I think the grid technique is great.
